Best Torque Wrenches for Bikes (2026): Don’t Crack Your Carbon Parts
The $200 bolt you’re tightening by feel
Every carbon handlebar, every lightweight stem, and every seatpost clamp on your bike has a number stamped on it. Usually 4, 5, or 6 Newton-meters. That number is not a suggestion, and “snug” is not a unit of measurement.
A torque wrench is the tool that turns that guess into a click. If you own a bike with carbon parts, or you plan to ever adjust your cockpit, it’s the single most important tool you can own after the ones in our essential home mechanic tool kit. One cracked carbon bar costs more than five of these wrenches.
As an Amazon Associate, Repair My Bicycle earns from qualifying purchases.
Why a torque wrench isn’t optional anymore
Bike parts used to be forgiving. Chunky aluminum stems and steel seatposts could take a healthy grunt on an Allen key and ask for seconds. Modern parts are lighter, thinner, and far less tolerant. A carbon handlebar over-torqued at the stem faceplate can develop crushed fibers inside the clamp zone. The scary part: it may not fail on the workstand. It can let go weeks later, on a descent, with your weight on it.
Under-tightening has its own risks. A handlebar that rotates mid-sprint or a seatpost that slips on every bump is a fast way to get hurt. The manufacturer prints a torque spec on nearly every bolt that matters for exactly this reason, and hitting that spec by hand, consistently, to within a Newton-meter or two, is something no human wrist can reliably do.
This isn’t fear-mongering. It’s the cheapest insurance in your toolbox. A good torque wrench pays for itself the first time it stops you from crushing a $150 seatpost.
What a bike torque wrench actually needs to do
Torque is just rotational force, measured in Newton-meters (Nm). A bolt tightened to 5 Nm has a five-kilogram-ish force applied at the end of a one-meter wrench. Your hand is nowhere near one meter long, which is exactly why guessing fails.
Nearly everything you will ever touch on a home-workshop bike lives in a narrow band:
- 4-6 Nm: stem faceplate bolts, handlebar clamps, seatpost clamps, brake lever clamps. This is the carbon danger zone and where your torque wrench will live.
- 6-8 Nm: disc brake rotor bolts (typically around 6 Nm on a T25 — check your hub or rotor manufacturer’s spec), derailleur mounting bolts, some seatpost saddles clamps.
- 12-14 Nm: Shimano Hollowtech II crank pinch bolts (12-14 Nm), thru-axles on many bikes.
- 40 Nm: cassette lockrings, bottom bracket cups, pedals. A low-range bike torque wrench does not go here. You need a separate higher-range wrench or a beam-type tool for these, and frankly most home mechanics have a shop do the occasional bottom bracket.
The takeaway: a wrench covering roughly 2 to 14 Nm handles about 90 percent of home maintenance. That’s the range to shop for.
The four kinds of bike torque wrenches
1. Click-type adjustable (the default choice)
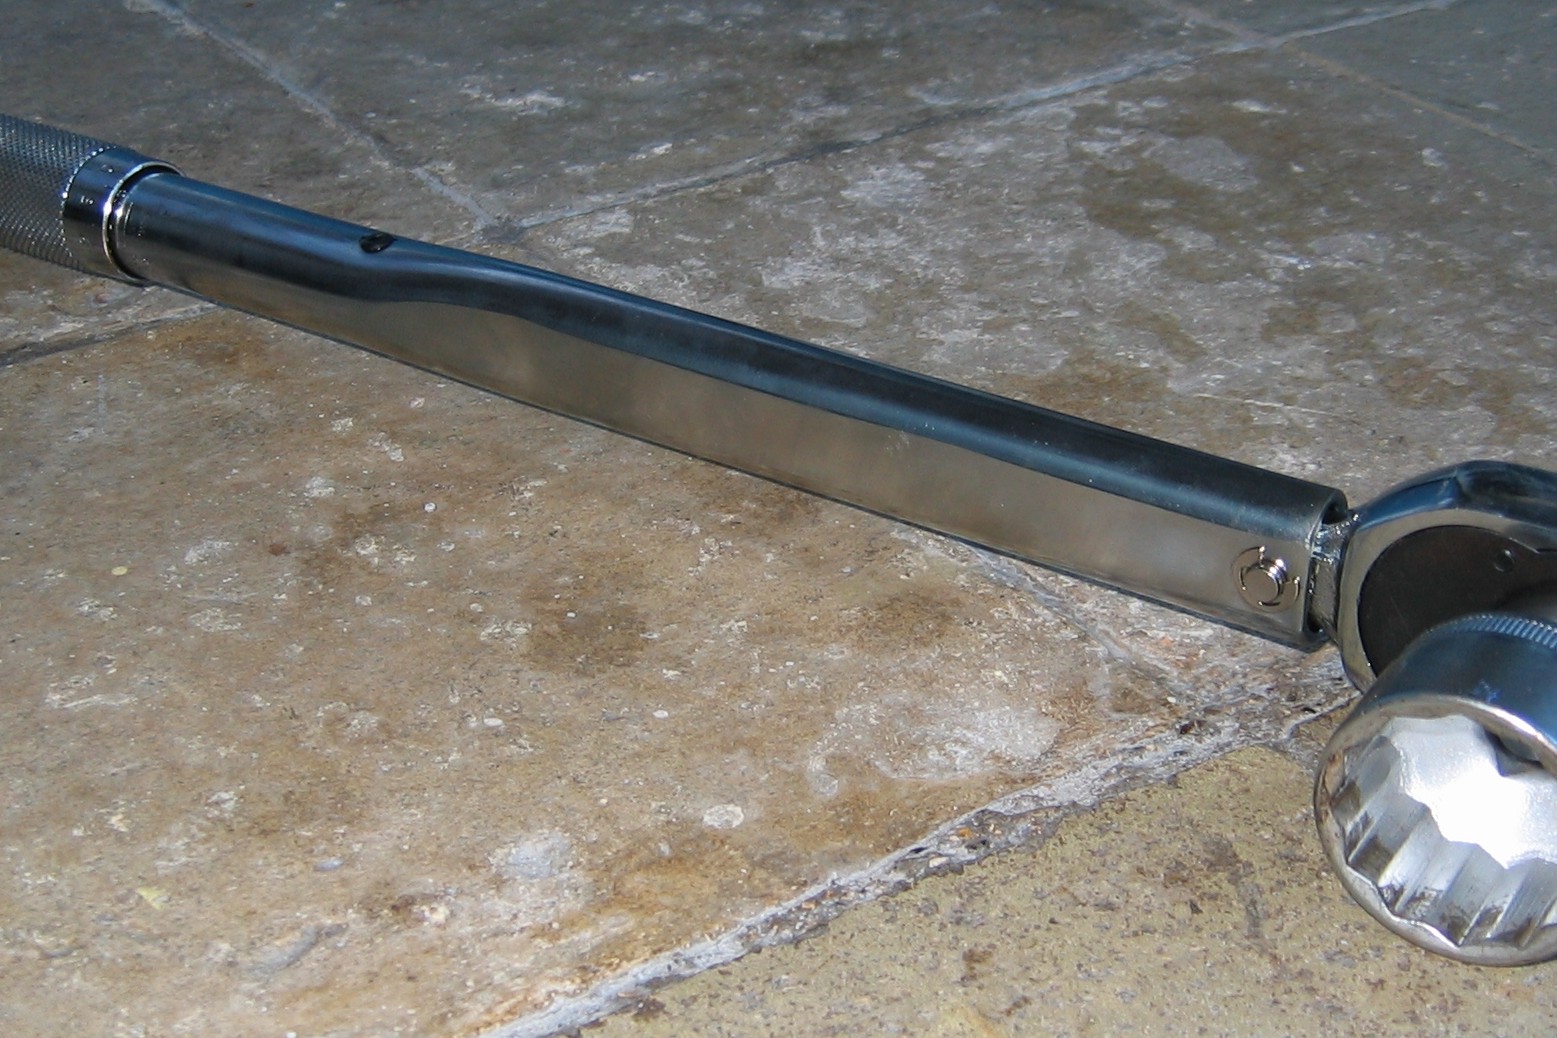
Dial in the number you want, tighten the bolt, and the wrench clicks (you feel it and hear it) when you hit the set torque. These are the most common for a reason: one tool covers the whole 2-14 Nm band, they last for years with basic care, and the click is unmistakable. Downside: you must remember to dial it back to its lowest setting before storing it, or the internal spring can drift out of calibration.
2. Preset / torque-limiting drivers (the carbon-safe shortcut)
These come fixed at one value, usually 5 Nm, or adjustable across a small preset range like 4, 4.5, 5, 5.5, or 6 Nm. You can’t set them wrong, which makes them perfect for carbon cockpits. Many use a cam-over design that physically cannot apply more than the set value, so even if you miss the click, you can’t crush the part. For everything that matches one of their settings, they’re faster and more foolproof than an adjustable wrench.
3. Beam-type (the simple, honest option)
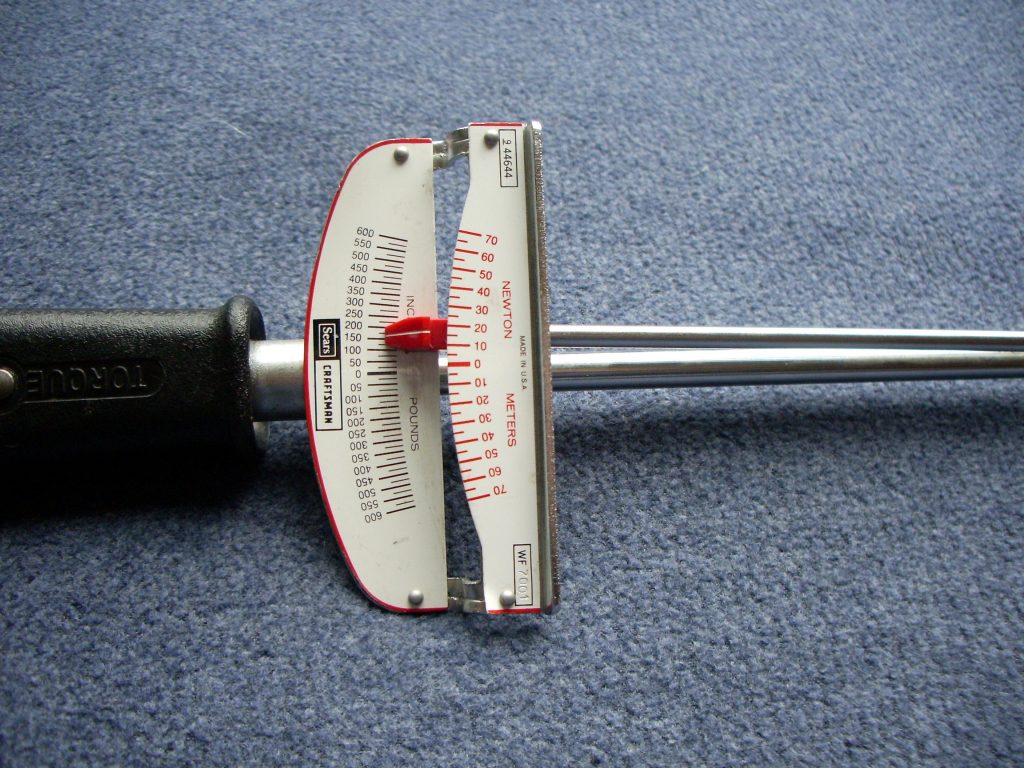
A pointer flexes against a scale as you tighten. No mechanism to wear out, no calibration schedule, nearly indestructible. Downsides: they’re harder to read in bad light, you have to watch the scale while tightening, and they’re less common in bike-sized low ranges. A perfectly respectable budget path, just less convenient.
4. Digital (the overkill option)
Excellent accuracy, easy-to-read display, often with beeps and vibration alerts. Also the most expensive, and they need batteries. For a home mechanic, a good click-type wrench gives you all the accuracy you can use. Digital is a luxury, not a necessity.
The picks: best torque wrenches for bikes
Every pick below is research-based: verified specs, current pricing, and broad owner consensus. No first-person testing claims, because honesty matters more than theater.
Best overall: Park Tool TW-5.2
Range: 2-14 Nm | Drive: 3/8″ ratcheting | Accuracy: +/- 4% | Price: around $100-115
This is the wrench every “best bike torque wrench” list agrees on, and for once the consensus is right. The 2-14 Nm band covers the entire home-mechanic sweet spot, from delicate stem bolts up through crank pinch bolts. The push-and-twist dial with its window display makes setting a value quick and readable, the ratcheting head works in both directions, and the click feedback is the clearest in the business. It ships in its own protective case, because Park Tool knows it will live on a shelf between uses.
Two honest caveats: no bits are included in the box, so you’ll pair it with a 1/4″-to-3/8″ adapter or your existing hex and Torx bits, and the price is firmly mid-range rather than cheap. But this is the tool the average home mechanic buys once and uses for a decade.
Best preset driver for carbon: Park Tool ATD-1.2
Settings: 4, 4.5, 5, 5.5, 6 Nm | Drive: 1/4″ hex | Bits: 3, 4, 5mm hex + T25 in the handle | Price: around $80
If your bike is carbon and you just want the cockpit dialed without ever thinking about it, this is the one. It’s a preset torque-limiting driver, not an adjustable wrench: pick the setting stamped on your part (most carbon bars and stems want 5 or 6 Nm), push the bit in, and tighten. The mechanism limits the torque clockwise so you physically cannot over-tighten, even if you zone out mid-bolt.
The all-metal internals and factory calibration (each one is assembled and calibrated at Park Tool’s Minnesota factory) make it a consistent, set-and-forget choice for carbon cockpit bolts. The bits you need most live in the handle itself. It won’t help you at 12 Nm on a crank arm, so think of it as the perfect companion to a click wrench rather than a replacement for one.
Best budget complete kit: PRO Bike Tool 1/4″ Torque Wrench Set (2-20 Nm)
Range: 2-20 Nm | Drive: 1/4″ reversible ratchet | Included: 11 bits, 100mm extension, storage case | Price: around $70-80
This is the Amazon bestseller for a reason: it’s a complete kit in a case for less than the price of a Park Tool wrench alone. The 2-20 Nm range with fine micro-adjustment covers everything a home mechanic will touch, the reversible ratchet head works in tight spaces, and the included hex (2-10mm) and Torx (T10, T20, T25) bits plus a 100mm extension mean you can torque your cockpit five minutes after it arrives.
Trade-offs at this price are real but manageable: the fit and finish isn’t Park Tool, and measurements read in Nm only (no inch-pound scale). For a first torque wrench on a budget, this is the smartest buy on the page.
Shop-grade upgrade: Pedro’s Demi Torque Wrench II
Range: 3-15 Nm | Drive: 1/4″ reversible ratcheting | Accuracy: +/- 4% | Price: ~$250
Pedro’s doesn’t do entry-level, and the Demi Torque Wrench II is built like it. The 3-15 Nm range nudges a touch higher than the Park Tool TW-5.2, the micrometer-style dial with a positive lock sets fast and stays put, and the low-profile head squeezes into spots a full-size wrench head can’t reach. The real story is the included kit: an integrated bit holder plus a generous bit set (hex from 2.5 to 6mm, Torx T10 through T30, flare crowfoot bits, and a wrench-drive adapter), all in a custom tool roll.
At roughly two-and-a-half times the price of the mainstream click wrenches, this is for the mechanic who works on bikes weekly and appreciates tools that feel like an extension of the hand. A two-year warranty backs it.
Worth a look: Feedback Sports Range Click
Feedback Sports makes the best repair stands in the business (see our repair stand guide), and their torque wrench is quietly one of the most complete click wrenches you can buy: 2-14 Nm in fine 0.17 Nm increments, a 72-tooth ratchet that measures in both directions, and 13 S2 steel bits covering hex 2-8mm and Torx T10/T25/T30 plus extended bits. The whole package lands around 278 grams in its case. If you already trust Feedback Sports tools, this slots right in.
The travel and pocket options
You don’t need a full wrench in a jersey pocket, but these cover the most common roadside and race-day scenario: checking that the stem, bars, and seatpost are at spec before a ride.
- Prestacycle Mini TorqKeys (about $20 each): pocket-sized preset drivers in 4, 5, 6, and up to 12 Nm, with bits and a holder included. Factory-calibrated to +/- 6%, safe to unscrew bolts up to 15 Nm, and small enough for a saddlebag.
- Ritchey Multi-Bit Torqkey ($27.95): the original pocket preset from the brand that arguably invented the category. Available in 4 or 5 Nm, includes 3, 4, 5mm hex plus Torx T20/T25 and a Phillips bit, and at 50 grams it’s the lightest full solution here. Perfectly accurate in independent testing; just know the tiny handle is built for occasional use, not daily shop work.
And if the budget is the whole ballgame, the Venzo 2-24 Nm torque wrench kit (a budget-friendly option with bits included) gets you a click-type wrench with a wider range than most. It’s bulkier than the premium options and calibration over time is the question mark owners raise, but it will absolutely torque your stem bolts correctly on day one.
Quick comparison
| Wrench | Range | Type | Approx. price | Best for |
|---|---|---|---|---|
| Park Tool TW-5.2 | 2-14 Nm | Click, adjustable | $100-115 | Best overall home-shop wrench |
| Park Tool ATD-1.2 | 4-6 Nm (presets) | Preset limiting driver | ~$80 | Carbon cockpits, foolproof |
| PRO Bike Tool set | 2-20 Nm | Click, adjustable + bits | $70-80 | Best budget complete kit |
| Pedro’s Demi Torque II | 3-15 Nm | Click, adjustable + bits | ~$250 | Frequent wrenching, shop feel |
| Feedback Sports Range Click | 2-14 Nm | Click, adjustable + bits | $125.00 | Bit-rich alternative |
| Prestacycle Mini TorqKeys | 4-12 Nm (presets) | Preset pocket driver | ~$20 each | Travel / second wrench |
How to use a torque wrench without messing it up
Buying the wrench is half the job. Using it right is the other half, and it’s simple:
- Read the spec. It’s printed on or near the bolt, usually stamped into the component (“5 Nm” or “MAX 6 Nm”). When in doubt, check your bike’s or component’s manual. Never guess the number.
- Dial it in. On a click-type wrench, set the value on the scale, then give the lock a snug turn. Set preset drivers to the stamped value. Use the right bit, fully seated in the bolt head, and keep the tool straight, not at an angle.
- Tighten in stages on multi-bolt clamps. Stem faceplates and seatpost clamps have two or four bolts. Snug them all evenly by hand first, then torque in a criss-cross pattern, a quarter turn at a time, until each one clicks. This seats the clamp evenly instead of pinching one side.
- Stop at the click. When the wrench clicks, you’re done. Continuing to pull past the click on a click-type wrench keeps tightening. The click is the finish line, not the halfway point.
- Store it at its lowest setting. After every use, dial a click-type wrench back down to its minimum (usually 2 Nm). The internal spring holds calibration far longer when it’s not stored under tension. Preset drivers need no such ritual.
- Don’t use it as a breaker bar. A torque wrench is for final tightening, not for cracking loose a seized bolt. Loosen with a regular hex key, then torque with the wrench.
- Recalibrate occasionally. Home mechanics who use the tool a few times a month can go a few years between calibrations if it’s stored properly and never dropped. Shops calibrate annually. If you drop it hard onto concrete, assume it needs checking.
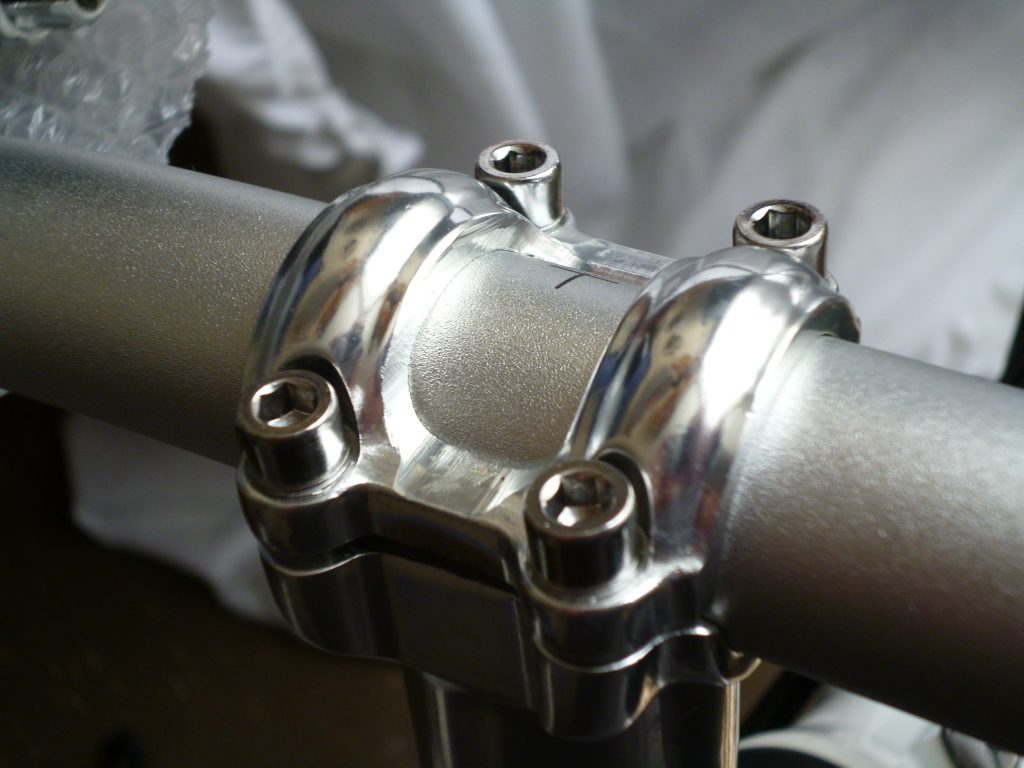
Carbon-specific care: the real reason you bought this
Carbon doesn’t warn you. Aluminum bends and steel stretches before they let go; carbon holds its shape right up until it doesn’t. That’s why every carbon handlebar, seatpost, and stem faceplate carries a printed torque spec, and why the 4-6 Nm band deserves its own paragraph.
A few rules that keep carbon alive:
- Always use a torque wrench on carbon, every bolt, every time. No exceptions for “just a quick tweak.”
- Use carbon assembly paste (fiber grip) on seatposts and handlebar clamps. It increases friction so you can hit the spec with less clamping force. It’s cheap and it meaningfully reduces the stress on the part.
- Respect the max, but also respect the feel: if a carbon part slips at its stamped torque, the answer is paste and proper bolt prep, not “one more quarter turn.”
- When in doubt, check your bike’s manual for the spec, not a random forum post. Manufacturers revise specs; the number on your part wins.
Fix, replace, or shop? The honest cost math
A torque wrench doesn’t fix anything by itself, it prevents expensive problems. Run the math:
- One cracked carbon handlebar: $150-400 to replace, plus the shop labor if you can’t build a cockpit yourself.
- One ovalized or slipped seatpost clamp area on a carbon frame: potentially a new frame. Game over.
- A $70-115 torque wrench: protects every bolt you touch for the next decade.
There is no fix-vs-replace decision here the way there is with a worn chain or a dead floor pump. This is pure prevention, and prevention at this price is the easiest buying decision in home bike maintenance.
What to buy first
If this is your first torque wrench, buy the Park Tool TW-5.2 and a set of quality hex and Torx bits if you don’t already own them. It covers the whole home-mechanic range, it’s the industry reference, and you’ll never outgrow it.
If your bike is carbon and you want the simplest possible path to safe cockpit bolts, pair it with or start from the Park Tool ATD-1.2. Foolproof has real value when a mistake costs a handlebar.
If the budget needs to stretch to cover other tools on your list, the PRO Bike Tool 2-20 Nm set gets you torquing correctly on day one with everything in the box. Then put the money you saved toward the next items in your tool kit build, and do it all standing comfortably at a proper repair stand.
Fix it yourself. Ride more.
Follow Repair My Bicycle on Facebook for a new tip every morning: https://www.facebook.com/repairmybicycle