Essential Home Bike Mechanic Tool Kit: What You Actually Need
Sooner or later, every cyclist does the same math. You drop your bike off at the shop for a tune-up and the receipt reads $150. Then the shifting goes off two months later and it is another $40. Then a flat, a worn chain, a wobbly brake lever, and before the season is over you have paid for a decent set of tools three times over without owning any of them.
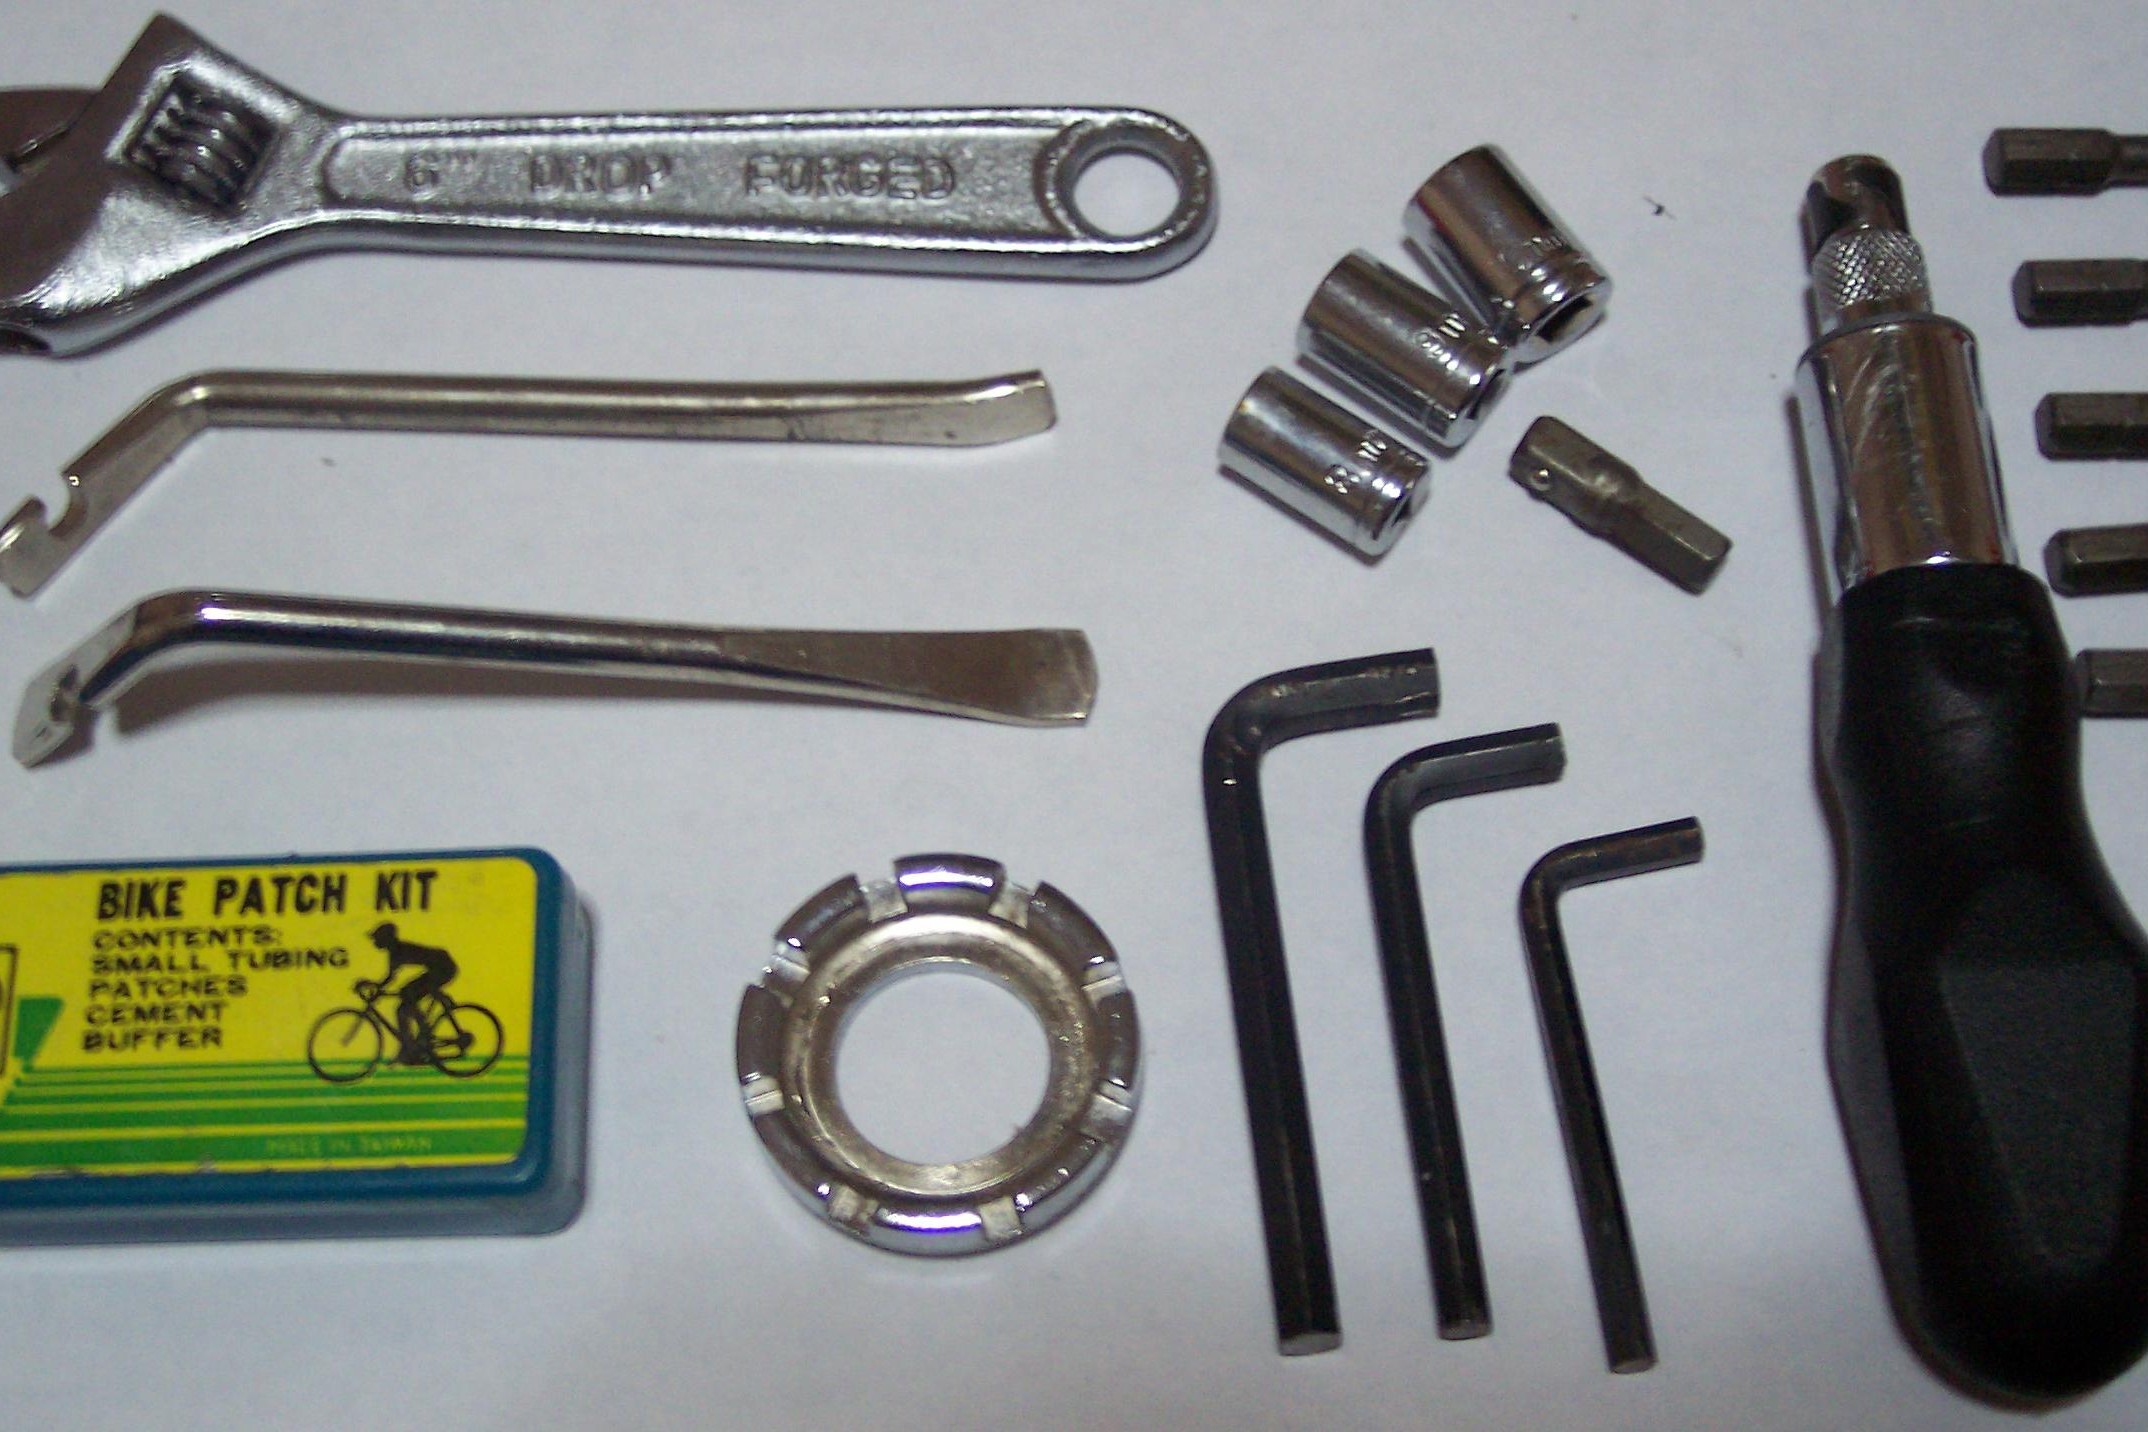
This guide is about breaking that cycle. It covers exactly which tools a home mechanic needs to handle the work an average cyclist actually does at home, what each one costs, whether a complete kit or a build-it-yourself box is the better buy, and which tools you can safely skip. Fix it yourself. Ride more.
As an Amazon Associate, Repair My Bicycle earns from qualifying purchases.
The honest math: shop visits vs. a toolbox
Before spending a dollar, it helps to see what the shop charges for the jobs you would be taking back. These are typical ballpark labor charges in North America and they vary by shop, city, and bike type, so treat them as rough guides rather than quotes.
- Flat tire repair or tube replacement: typically $15 to $40 labor, plus the tube ($8 to $15). A pair of tire levers costs less than one shop flat.
- Brake adjustment: typically $15 to $40 for a basic adjustment; a hydraulic bleed runs closer to $40 to $60 per wheel. Brake pad installation is often $20 to $35 labor, with pads at $10 to $40 a set.
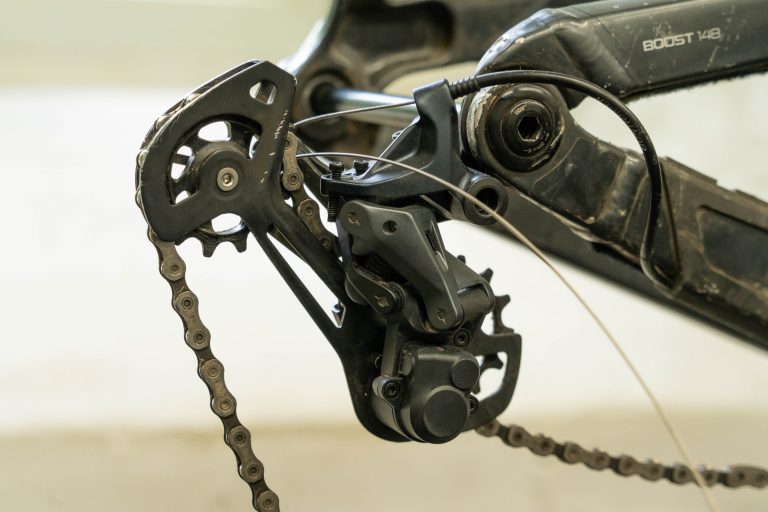
- Derailleur or shifting adjustment: typically $25 to $60. Cables are cheap; the knowledge and ten minutes are what you are paying for.
- Chain replacement: typically $25 to $35 labor, with chains running $15 to $70 depending on speeds. Ignoring a worn chain lets it chew up the cassette ($25 to $80+) and chainrings, turning a cheap job into an expensive one.
- Basic tune-up: typically $60 to $120. A full standard tune-up with wheel truing and drivetrain cleaning lands more like $100 to $160. Deluxe packages with cable replacement and deep cleaning can run $250 and up.
- Drivetrain deep clean: typically $40 to $95 at a shop, a job that costs you a bottle of degreaser and half an hour at home.
Now frame it honestly, because the honest framing matters. Tools do not make every job free. Parts still cost money whether you install them or the shop does. Some jobs genuinely belong at the shop: suspension service, hydraulic brake overhauls, wheel building, and anything involving bearings pressed into carbon. And your first repair will take you three times as long as the mechanic’s, because learning is part of the price.
But the math still lands hard. A home mechanic who handles flats, brake and shifting adjustments, chain replacement, cable swaps, and routine cleaning will typically skip two to four shop visits a year. At $60 to $160 per visit, a $200 to $300 tool investment usually pays for itself within the first season. After that, every repair is parts cost only, and it is done on your schedule instead of the shop’s backlog.
That leaves the real question: which tools earn that payback, and which ones just look impressive on a pegboard.
The core kit: what a home mechanic actually needs
Strip bike repair down to what an average cyclist does in a garage, and the list is shorter than the tool companies want you to believe. Here it is, organized by job, with typical current prices so you can see the total as you go.
1. Hex keys and Torx keys: the tools you will use the most
Most bolts on a modern bike are 4mm, 5mm, or 6mm hex, with smaller sizes (2, 2.5, 3mm) on things like seat clamps, brake lever reach, and shifter clamps, and 8 or 10mm on some crank and pedal setups. Disc brake rotors and many chainring bolts use T25 Torx. If you buy nothing else, buy these.
A quality L-shaped hex set like the Park Tool HXS-1.2 Hex Wrench Set (about $35) covers 1.5 through 10mm and will last years. For everyday adjustments, a 3-way wrench like the Park Tool AWS-1 3-Way Hex Wrench (4, 5, 6mm, about $17) is the single most reached-for tool in most home shops. For Torx, the Park Tool TWS-3 3-Way Torx Wrench (T10/T25/T30, about $15) handles rotor bolts and chainring bolts.
Cheap hex keys from the bargain bin are the one place false economy genuinely bites. A soft key rounds off a bolt head, and then you own a much bigger problem than a stripped $17 wrench. Buy decent ones once.
2. Screwdrivers
You need a #2 Phillips and a flat blade for derailleur limit screws, some brake adjustments, and assorted odds and ends. Any decent set from your existing toolbox works; there is nothing bicycle-specific about them. If you are buying, a Park Tool SD-2 Phillips Screwdriver and its flat-blade sibling run about $10 to $12 each, but this is a case where the screwdrivers you already own are probably fine.
3. Tire levers and a patch kit
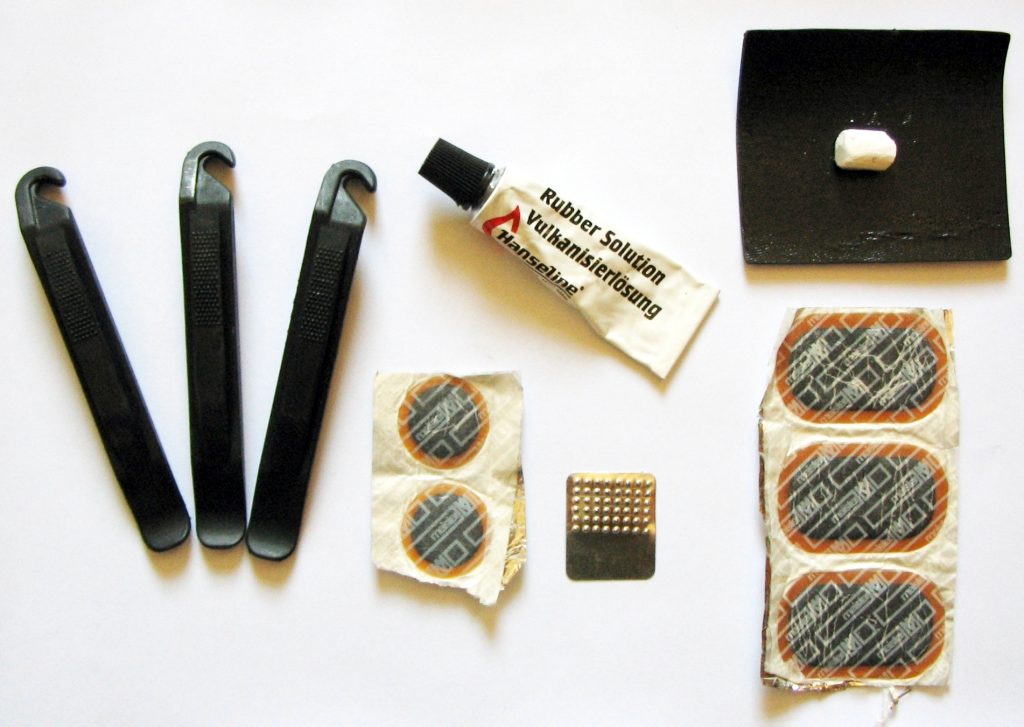
Flats are the most common roadside and home repair, and the tool cost is almost nothing. The Park Tool TL-1.2 Tire Lever Set (about $7 for three levers) is the long-standing default because the shape lifts the bead cleanly and they rarely snap. Add a glueless patch kit (a few dollars) and a couple of spare tubes in the right size, and flat repair at home costs you the tube alone instead of a $15 to $40 shop visit. Keep one set of levers in your saddlebag and one at the workbench.
4. Chain tool and chain checker
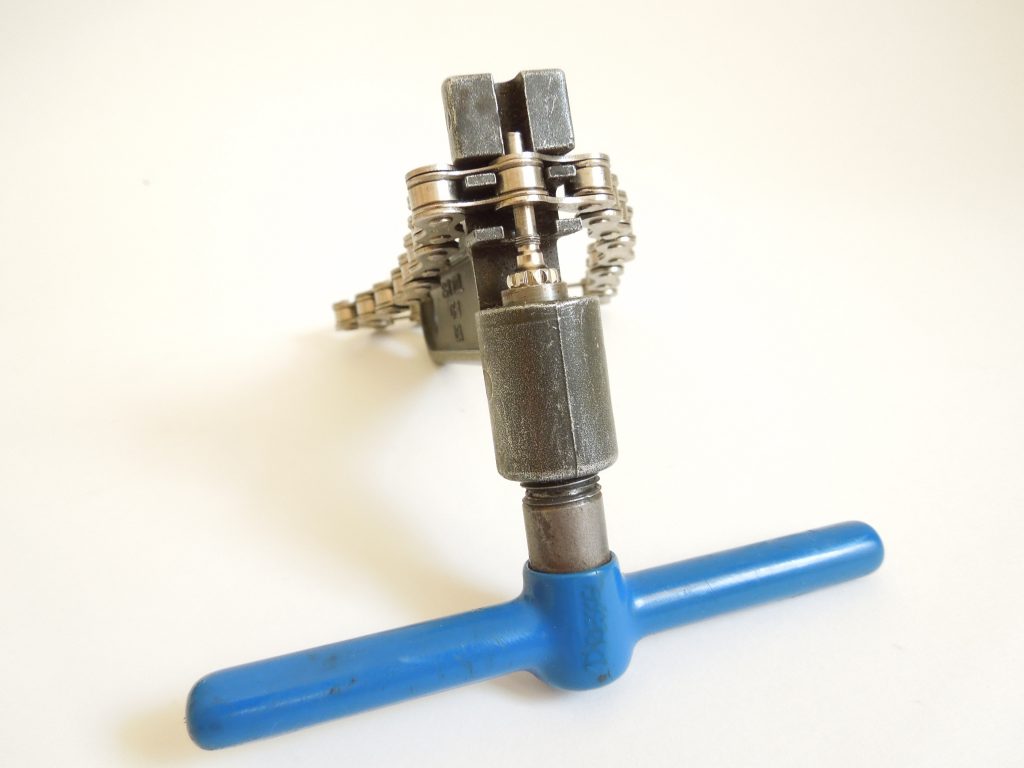
Chains are wear items. Checking one takes ten seconds and replacing one is a twenty-minute job once you have done it twice, yet shop chain replacement runs $25 to $35 in labor plus the chain. The Park Tool CC-3.2 Chain Checker (about $13 to $15) is a go/no-go gauge that tells you when the chain has hit the wear point where manufacturers recommend replacement. Catching it in time protects the cassette and chainrings, which cost far more than a chain.
For the actual swap, the Park Tool CT-5 Chain Tool (about $33 to $38) handles most derailleur chains. These days most new chains install with a quick link, so you will use the chain tool mainly to size the new chain to length and to remove the old one. If your chain uses a reusable master link, a pair of master link pliers (about $15 to $20) saves a lot of cursing.
5. Cassette tools: lockring tool and chain whip
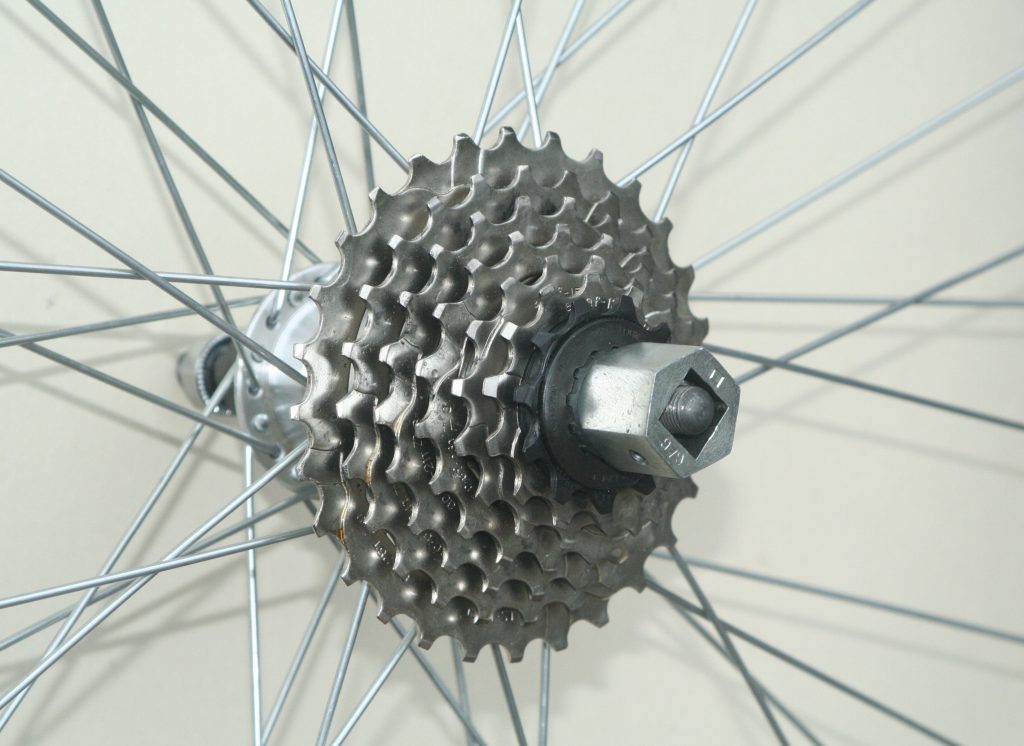
Deep-cleaning a drivetrain properly and replacing a worn cassette both require removing the cassette from the wheel. That takes two tools: a lockring tool like the Park Tool FR-5.2 Cassette Lockring Tool (about $13) and a chain whip to hold the cassette still, such as the Park Tool SR-2 Chain Whip (about $30) or the combo Park Tool HCW-16.3 Chain Whip/Pedal Wrench (about $49). One caution: confirm your drivetrain type first. Cassettes use a lockring tool; older freewheels use a different remover. A quick look at your hub or a search for your bike’s spec sheet settles it, and your bike’s manual is the final word on compatibility.
6. Cable cutters
When shift or brake cables fray or shifting goes vague, new cables and housing are a cheap fix, often under $15 in parts. But cutting cable housing cleanly without crushing it requires real cable cutters; side cutters and pliers mangle the housing and the shifting suffers. The Park Tool CN-10 Professional Cable and Housing Cutter (about $45 to $50) is the benchmark, and it is the tool that separates clean cable jobs from frustrating ones. A shop charges $25 to $50 in labor to replace cables. Do it twice and the cutter is paid off.
7. Pedal wrench
Pedals thread into cranks with real force, and the 15mm flats on most pedals are too narrow for a standard adjustable wrench to grab safely. The Park Tool PW-5 Home Mechanic Pedal Wrench (about $25 to $30) is slim, long enough for leverage, and doubles for other 15mm jobs. Some pedals use an 8mm hex from the back of the crank arm instead, so check yours before buying. Remember the thread direction rule that trips up every beginner: the left pedal is reverse-threaded, so it loosens clockwise.
8. Torque wrench
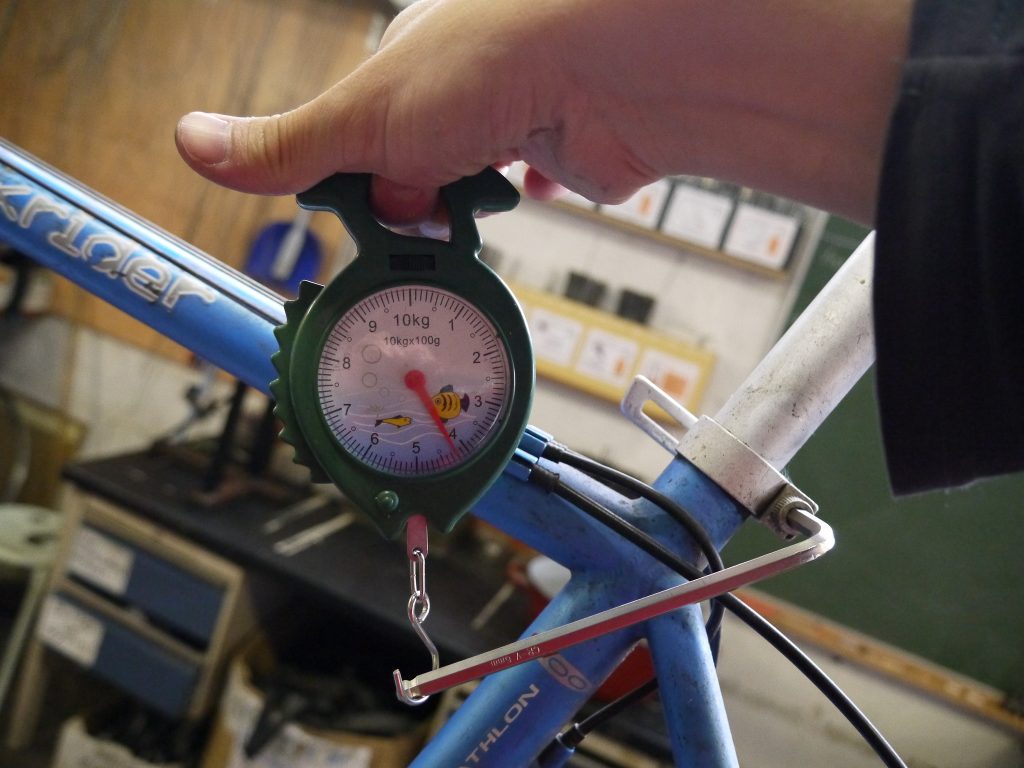
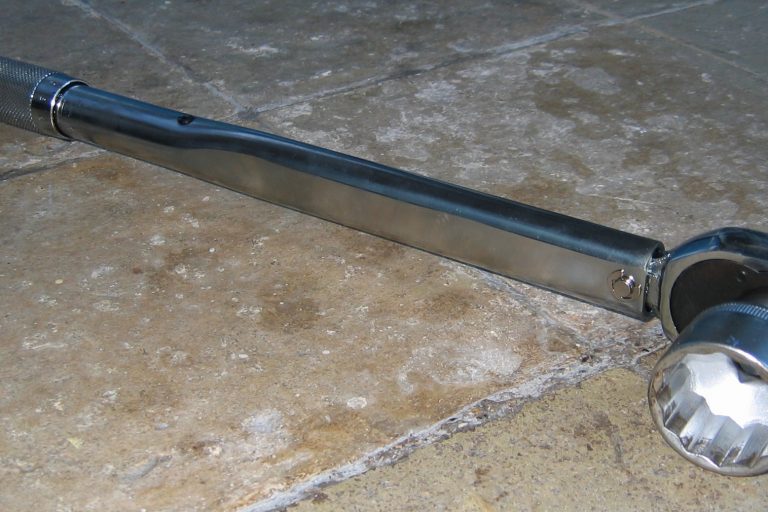
This is the tool that prevents expensive mistakes. Overtightening a stem, seatpost, or handlebar bolt can crack carbon parts or crush aluminum; undertightening lets things slip at speed. If your bike has any carbon fiber components, a torque wrench moves from nice-to-have to essential. A basic click-type 1/4-inch drive torque wrench covering the low ranges used on bikes (roughly 2 to 20 Nm) typically costs $30 to $60 from reputable brands, and preset torque keys for common values like 5 Nm are another option for the most common bolts. For the actual torque numbers, check your bike’s or component manufacturer’s manual. Specs vary by part, and guessing is exactly what the wrench is for.
9. Grease, lube, and cleaner
Tools do the work; chemistry keeps the parts alive. Three consumables cover almost everything: a bottle of all-purpose bicycle grease like Park Tool PPL-1 PolyLube Grease (about $12 to $15 for a tube that lasts years) for threads, seatposts, and pedal spindles; a chain lube suited to your conditions (dry lube for dry roads, wet lube for rain and slop, about $10 to $15); and a degreaser for drivetrain cleaning. A drivetrain-specific brush and an old rag round it out. Greased threads come apart next year; dry ones seize. That is the whole philosophy.
10. Floor pump with a gauge
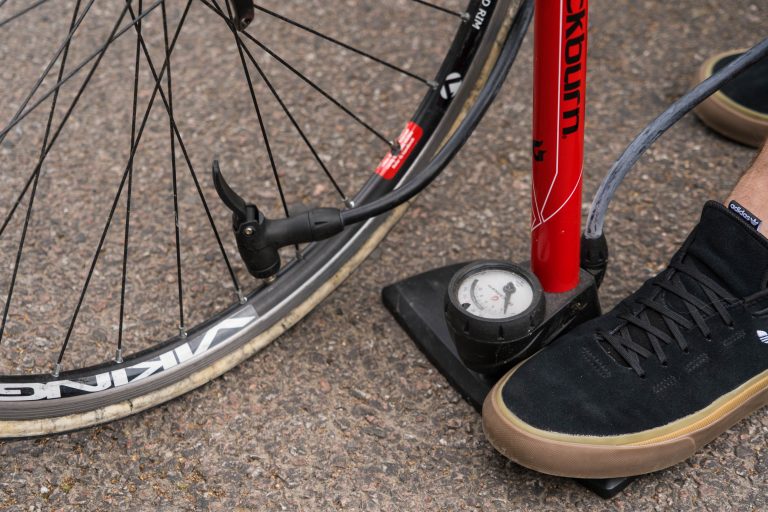
The most-used tool in any home shop is not glamorous: it is the pump. Riding on soft tires feels sluggish, wears tires faster, and invites pinch flats. A floor pump with an accurate gauge, like the Park Tool PFP-10 Home Mechanic Floor Pump (about $55), makes weekly pressure checks a thirty-second habit. Any sturdy floor pump with a readable gauge works; the gauge is the part that matters, because guessing pressure by squeeze is how you end up riding 20 PSI low for a month.
11. A repair stand
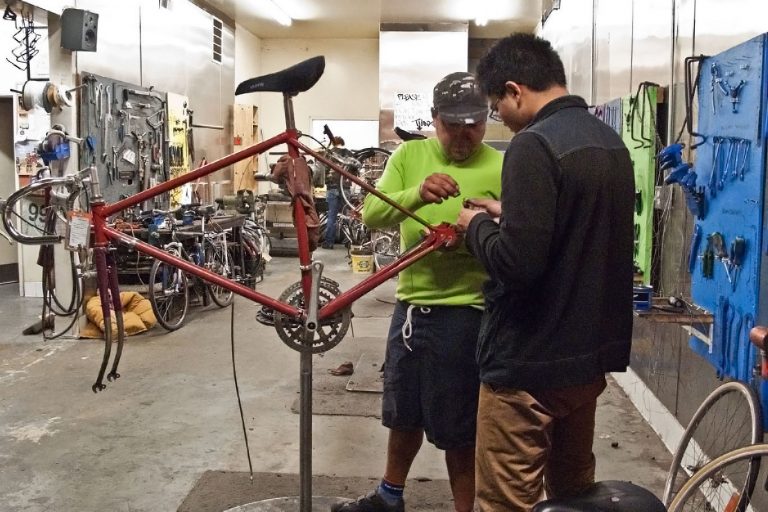
Working on a bike flipped upside down on the lawn is how you scratch the saddle, kink cables, and lose small parts in the grass. A repair stand holds the bike at working height so both hands are free and the wheels spin. It turns every job on this list from awkward to straightforward. A solid entry-level stand runs about $150 to $250, and it is the single biggest quality-of-life upgrade a home mechanic can buy. Our full rundown of the current options is in Best Bike Repair Stands, which compares what to look for and which models are worth the money. If you buy one big-ticket item this year, make it the stand before you make it anything else on this list.
Complete kit or build your own?
There are two honest paths to a stocked toolbox: buy a curated kit, or buy the pieces one job at a time. Neither is wrong. Here is how the main options compare at current street prices.
The premium curated kits
Park Tool AK-5 Advanced Mechanic Tool Kit (about $429). The best-known home-mechanic kit in cycling: more than twenty shop-quality tools in a tough toolbox, covering hex and Torx keys, screwdrivers, chain tool, cable cutters, cassette tools, tire levers, cone wrenches, spoke wrenches, and cleaning gear, plus Park Tool’s Big Blue Book of Bicycle Repair as a reference. It is the “buy it once and be done” option, and nearly every tool in it is one you would eventually buy anyway. The price stings, but so does buying the same tools individually at full retail.
Park Tool SK-4 Home Mechanic Starter Kit (about $231). Park Tool’s smaller starter kit (the current version of the older SK-3) with fifteen professional-level tools, the repair manual, and a toolbox. It covers the fundamentals: hex keys, tire levers, chain tool, screwdrivers, and the basics for adjustments. A sensible middle ground if the AK-5 feels like too much commitment.
Pedro’s Master Tool Kit (about $900 and up depending on version). The enthusiast-grade alternative to Park Tool, with lifetime warranty backing on most tools and excellent ergonomics. Genuinely lovely tools, and overkill in the best possible way. For an average home cyclist it is more kit than the jobs require; it makes sense if you maintain several family bikes and want tools that will outlast the bikes.
Topeak PrepStation (roughly $600 to $900). Topeak’s take on the premium kit pairs quality tools with a genuinely clever storage system that keeps everything organized and portable. Reviewers consistently praise the organization as much as the tools. It sits in the same “serious home shop” tier as the AK-5, with the storage being its standout feature.
The budget kits
LifeLine X-Tools 37-piece kit (roughly $100). The classic budget pick: 37 pieces including hex keys, chain tool, chain whip, cassette tool, pedal wrench, cone wrenches, tire levers, and a puncture kit. Independent reviews find it a solid performer for the money for light-to-moderate home use, with the caveat that some included tools (like the square-taper crank extractor and headset wrench) are relics of older bike designs, and the case is fiddly to repack. Fine for a beginner; expect to replace the most-used pieces with better versions eventually.
BikeHand YC-730 / 90-piece kits (roughly $100 to $130). BikeHand’s big-box kits are the Amazon bestseller end of the market: a huge piece count that covers the basics plus plenty of specialty bits. Owner consensus is consistent: great way to get started cheaply, adequate for light jobs, but the quality of the hardest-working tools (chain tool, cutters) will not match the premium brands, and you will eventually upgrade the pieces you reach for most. Nothing wrong with that as a strategy.
The build-it-yourself path
The alternative is to buy tools per job, starting with hex keys, tire levers, a pump, and a chain checker, roughly $60 to $100 all in. Then add the chain tool when the checker says the chain is done, the cable cutters when shifting goes vague, the cassette tools when the cassette needs replacing. Each purchase is tied to a real job, so nothing sits unused, and you spread the cost across the season.
Which path wins? If you know you will do your own maintenance for years, a curated kit like the AK-5 is usually cheaper than assembling the same quality piecemeal, and everything arrives organized in one case. If you are testing the waters, build it yourself and let each repair fund the next tool. What does not work well is the giant bargain kit as a forever solution: the piece count impresses, but the tools you use weekly deserve better than the ones bundled to hit a price point.
What to skip (for now)
A complete home shop does not mean every tool that exists. These are the common purchases that beginners make too early, and what to do instead.
- Bottom bracket tools. Bottom brackets come in a half-dozen standards, each needing its own tool, and modern press-fit units are genuinely a shop job for most home mechanics. Skip the tool; when the bottom bracket creaks or grinds, pay the shop’s $30 to $65 labor and move on.
- Headset press and crown race tools. You will use these maybe twice in a bike’s life. Shop job.
- Truing stand. Minor wheel trues can be done on the bike using the brake pads as a guide, and a stand is overkill until you are building wheels. A shop true runs about $20 to $50.
- Hydraulic brake bleed kit. Unless you ride hydraulic discs and plan to bleed them yourself, this is a $40 to $60-per-wheel shop service you need rarely. If you do go down this road, it deserves its own research, because mixing fluid types can destroy seals.
- Spoke wrenches beyond the basics. A single spoke wrench in the right size handles the occasional tweak. Full sets and tension meters are wheel-builder territory.
- Chain scrubber machines. A stiff brush, degreaser, and a rag clean a chain just as well for home purposes. Spend the money on lube instead.
- Torque screwdriver sets and digital gauges. A basic click-type torque wrench covers home needs. The precision instruments can wait until you have carbon everything and strong opinions.
The pattern: if a tool serves a job you will do less than once a year, or a job where a mistake gets expensive, the shop owns that tool and you rent it by the visit. Your toolbox should be full of the tools for the jobs you do monthly.
Three starter budgets
Putting it together, here is what the core kit costs at three commitment levels. Prices are approximate street prices and will drift with sales.
The $60 test drive
Hex key set, tire levers, patch kit, chain checker, and a bottle of chain lube. Enough to fix flats, keep tire pressure right (with a pump you may already own), monitor chain wear, and handle basic adjustments. If you do two flat repairs and one avoided tune-up, it has paid for itself.
The $200 serious starter
Everything above, plus a floor pump with gauge, chain tool, master link pliers, cable cutters, screwdrivers, a T25 Torx key, grease, and degreaser. This kit handles flats, chains, cables, brake and shifting adjustments, and full drivetrain cleaning. It covers the jobs behind most $60 to $160 shop visits.
The $400 full home shop
Everything above, plus cassette lockring tool and chain whip, pedal wrench, torque wrench, and a repair stand. At this level there is very little routine maintenance you cannot do. Pair the stand with the guidance in Best Bike Repair Stands to pick the right one for your space and budget, since the stand is the piece you will interact with on every single job.
Whichever tier you start at, buy the next tool when a job demands it, not before. The toolbox grows with the mechanic.
Get started this weekend
You do not need permission, a course, or a full kit to begin. Pump your tires to the pressure printed on the sidewall, check your chain with a $14 gauge, and clean the drivetrain with a brush and degreaser. Those three jobs take under an hour, cost almost nothing in tools, and teach you more about your bike than any video.
Then keep going. Adjust the shifting with the limit screws and barrel adjuster. Swap the brake pads when they wear down. Replace the chain when the checker says so, and the cassette when a new chain skips. Each job adds one tool and one skill, and each one is a shop visit you did not pay for. That is the whole game: fix it yourself, ride more, and spend the savings on the riding part.
Follow Repair My Bicycle on Facebook for weekly repair tips and new guides.
Photo credits
Featured image: “Bicycle repair tools” by Gengiskanhg, Wikimedia Commons (CC BY-SA 3.0). Chain tool photo by AndrewDressel, Wikimedia Commons (CC BY-SA 3.0). Cassette tool photo by Ian Harvey, Wikimedia Commons (public domain). Torque photo by BohwaZ, Wikimedia Commons (Free Art License). Puncture repair kit photo by Björn Appel, Wikimedia Commons (CC BY-SA 3.0).